Before you start
Joining Todifit happens in two stages. First you register your interest and Todifit reviews your store. If approved, you receive an invitation email that lets you create your retailer account. After that, you finish a short setup so shoppers can find and buy from you.
Have these ready before you begin so setup is quick:
- A business email on your own company domain (for example you@yourstore.com). Gmail, Outlook, and Yahoo addresses are not accepted.
- Your store name, website, and a contact phone number.
- Your business and bank details for payout verification (used by Stripe during payout setup).
- Your product information: photos, descriptions, sizes, colours, prices, and stock — or a connected Shopify or Square store you can sync from.
The short version
Register interest → get approved and receive an invitation email → create your password and account → secure it with two-step verification → complete your store profile and delivery → connect payouts with Stripe → add your products → turn catalog visibility on. Once payouts are connected and visibility is on, your products go live to shoppers.
Step 1 — Register your interest
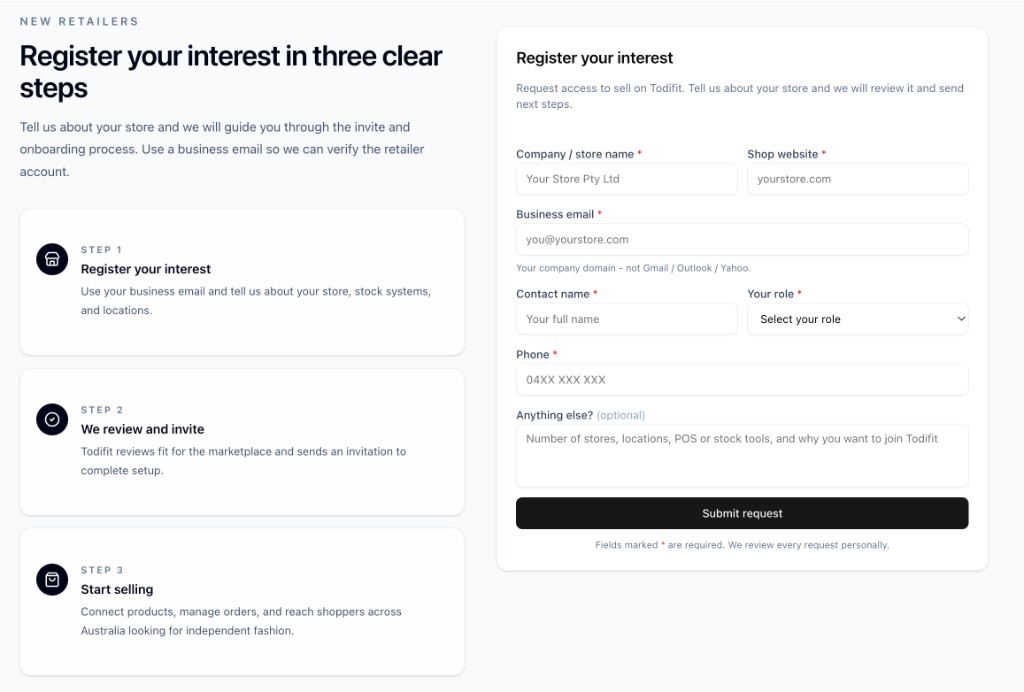
Open the Todifit retailer site and find the "Register your interest" form. It appears on the retailer home page and on the retailer sign-in page. Use it to request access to sell on Todifit.
- Go to the Todifit retailer website home page (or the retailer sign-in page).
- Find the "Register your interest" card.
- Enter your company / store name and your shop website (for example yourstore.com).
- Enter your business email on your company domain — not Gmail, Outlook, or Yahoo.
- Enter your contact name, choose your role, and add a contact phone number.
- Optionally add a note: number of stores, locations, the POS or stock tools you use, and why you want to join.
- Select "Submit request".
After you submit, you will see a confirmation message: "Thank you. We’ve received your request and will be in touch shortly." Nothing more is needed from you at this stage.
Use a business email
Your business email becomes the login for your retailer account, and your invitation is sent to this address. Make sure it is correct and that you can receive email at it.
Step 2 — Todifit reviews your request
Every request is reviewed personally by the Todifit team. If your store is a good fit, you will receive an invitation email at the business email you provided. This step does not require any action from you — just keep an eye on your inbox.
Can’t find the email?
Check your spam or junk folder and search for "Todifit". If you still cannot find it after a few days, reply to your original contact at Todifit or use the support contact so we can resend it.
Step 3 — Accept your invitation email and create your account
Once your request is approved, Todifit sends an invitation email to your business email address. The email confirms your store/company name, is addressed to your invited email, and contains a single secure "Complete registration" button or link. This link is unique to you and expires, so open it as soon as you can — and only ever use the link from your own email.
What you need to do when you receive it:
- Open the invitation email from Todifit and select the "Complete registration" link.
- The "Complete Your Registration" page opens. Your email and company name are already filled in and locked — they come from your invitation, so you cannot change them here.
- Enter your contact name (required).
- Optionally add a phone number.
- Create a password (at least 6 characters) and type it again to confirm.
- Select "Complete Registration".
When registration succeeds, you are signed in automatically and taken to your retailer dashboard. From here you finish setting up your store.
Invitation expired or link invalid?
If the page shows an invitation error, your link may have expired or already been used. Contact Todifit support to have a fresh invitation sent.
Step 4 — Sign in and secure your account
Your account uses your business email to sign in. Depending on your setup you may sign in with email and password, an emailed code, Google, or Microsoft. Two-step verification (a code from an authenticator app) protects your store and may be required before you can use the dashboard.
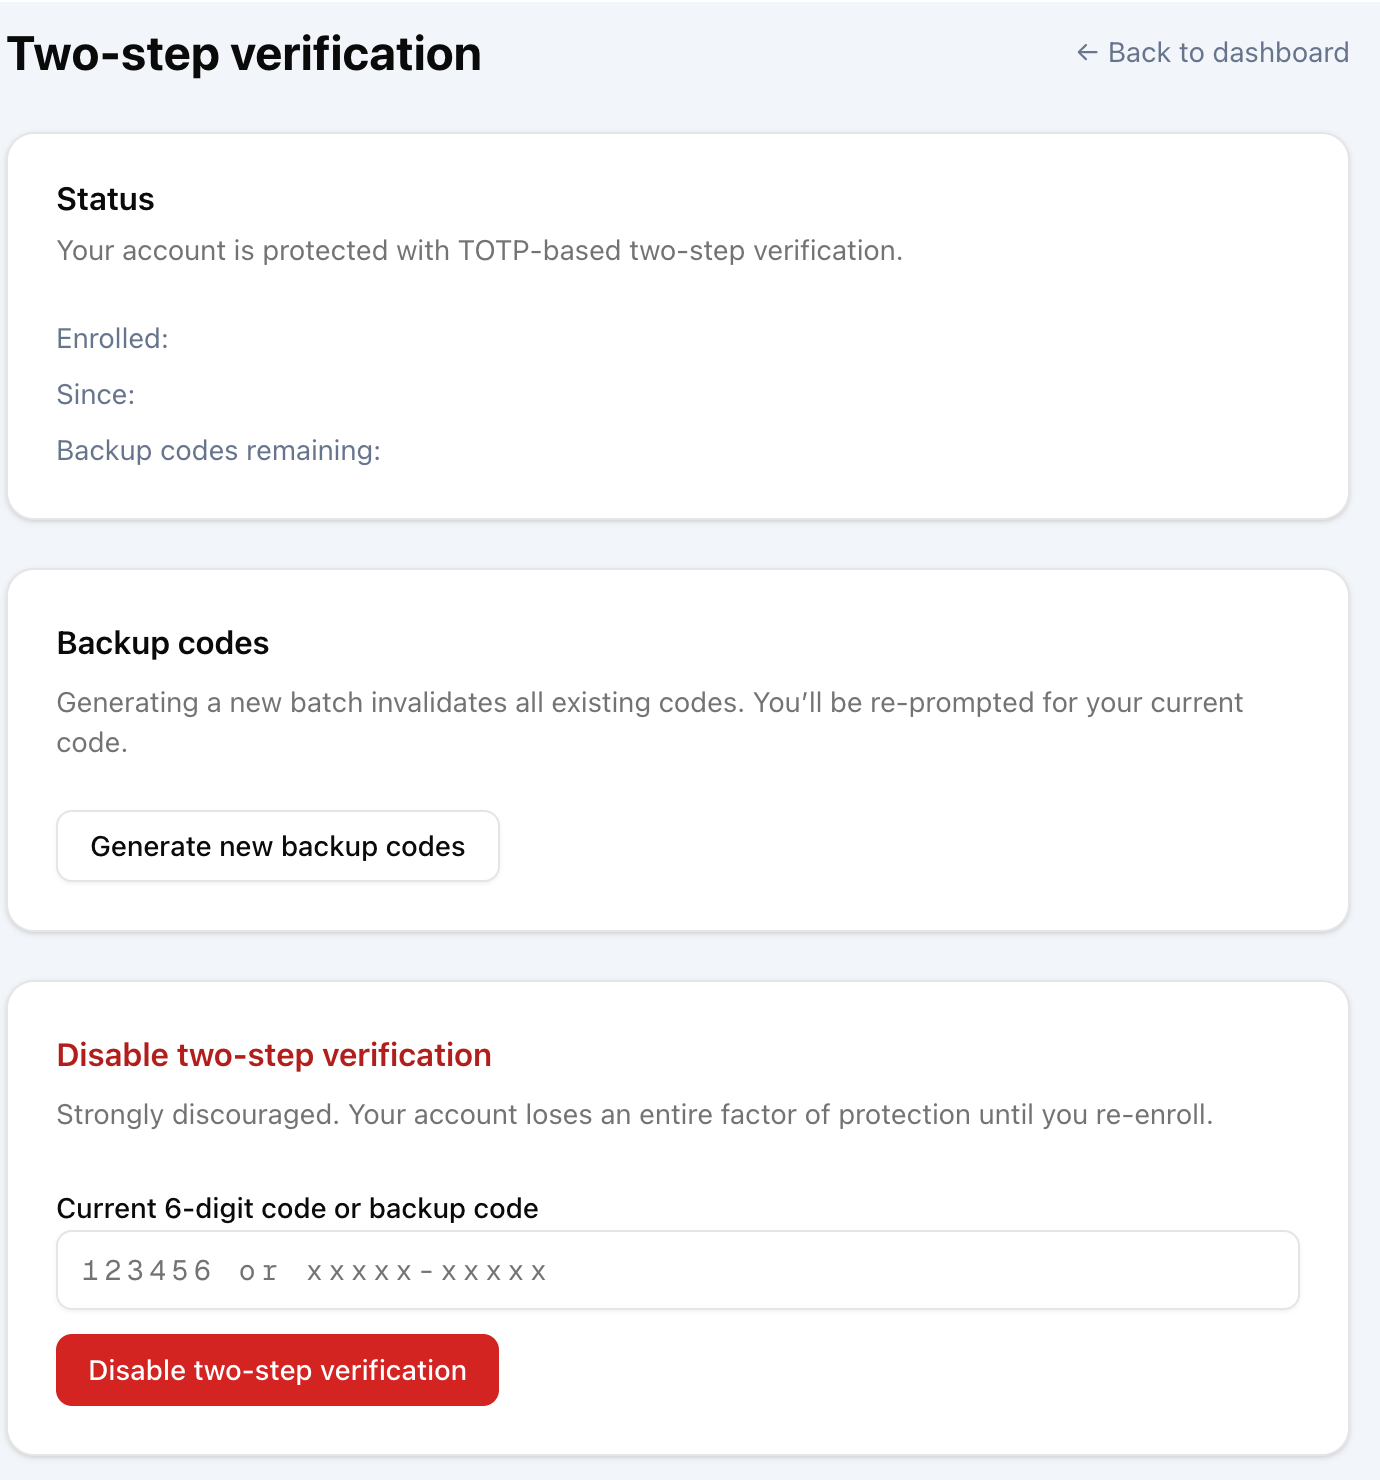
- In the dashboard sidebar, open "Two-step verification".
- Follow the setup to scan the QR code with an authenticator app (such as Google Authenticator, Microsoft Authenticator, or 1Password).
- Enter the 6-digit code from the app to confirm.
- Save your backup codes somewhere safe — they let you sign in if you lose your device.
Support access to your account
To help with support, troubleshooting, or security, authorized Todifit staff may securely sign in to your dashboard on your behalf. This is limited to authorized personnel, requires the staff member to pass two-step verification, is time-limited, and is recorded in an audit log. While support is signed in, an "Impersonating" banner is shown. This access is covered by the Todifit Privacy Policy and Terms of Service.
Step 5 — Complete your store profile
Open "Store" in the sidebar to set up the basics shoppers and Todifit need. Todifit currently sells to shoppers in Australia, so your store country is fixed to Australia.
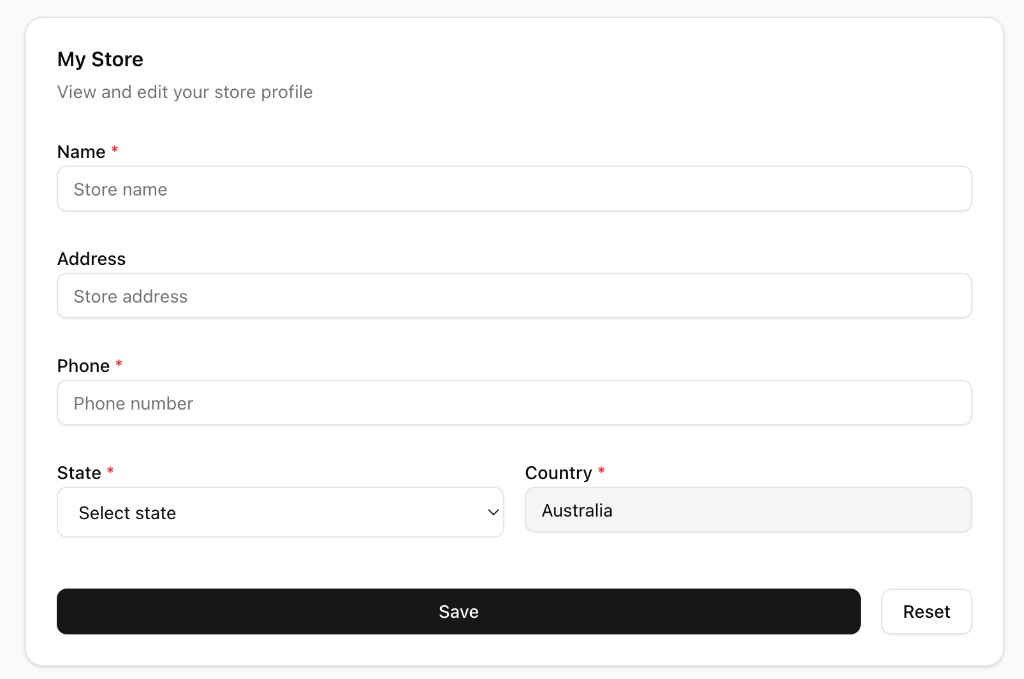
- Open "Store" from the sidebar.
- Enter your store Name (required).
- Enter your store Address (optional but recommended).
- Enter a contact Phone number (required).
- Choose your State from the list of Australian states/territories (required).
- Confirm the Country is Australia (this field is locked).
- Select "Save".
Step 6 — Set your delivery pricing
Still on the Store page, set how delivery is priced for your orders. You can use Todifit’s platform defaults or set your own. The full delivery fee shoppers pay for your store is passed through to you.
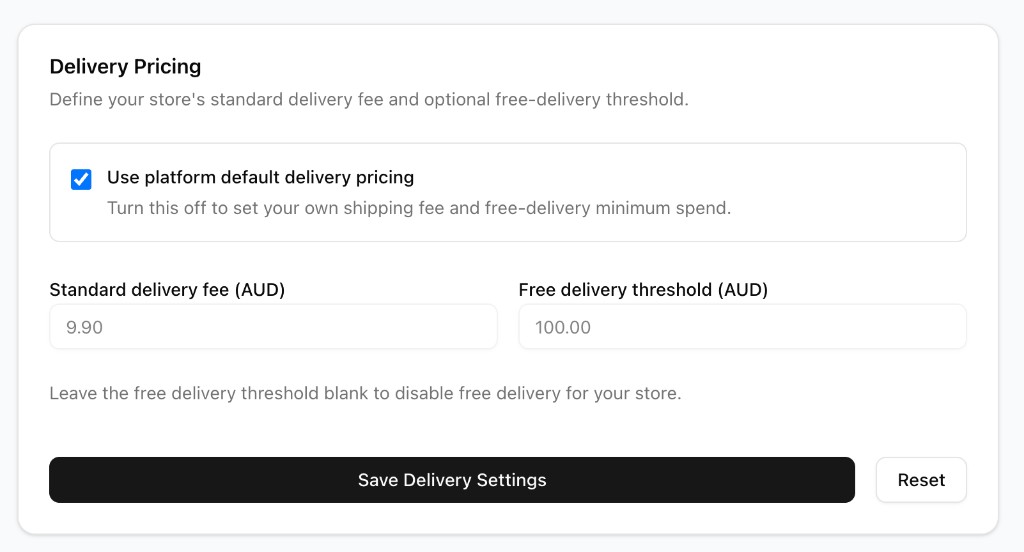
- Scroll to the "Delivery Pricing" card on the Store page.
- Leave "Use platform default delivery pricing" ticked to use Todifit’s defaults, or untick it to set your own.
- If setting your own, enter your standard delivery fee (AUD).
- Optionally enter a free-delivery threshold — the basket amount above which delivery is free for your store. Leave it blank to never offer free delivery.
- Select "Save Delivery Settings".
Step 7 — Connect payouts (required before you can sell)
Todifit pays you through Stripe. You must connect a Stripe payout account before your products can appear to shoppers — turning catalog visibility on does not make your store live until payouts are connected.
- Open "Payouts" from the sidebar.
- Select "Set up Payouts". You are redirected to Stripe’s secure onboarding page.
- Complete Stripe’s steps: your business information, bank account details, and identity verification (KYC).
- Return to Todifit. The Payouts page should now show "Account Connected".
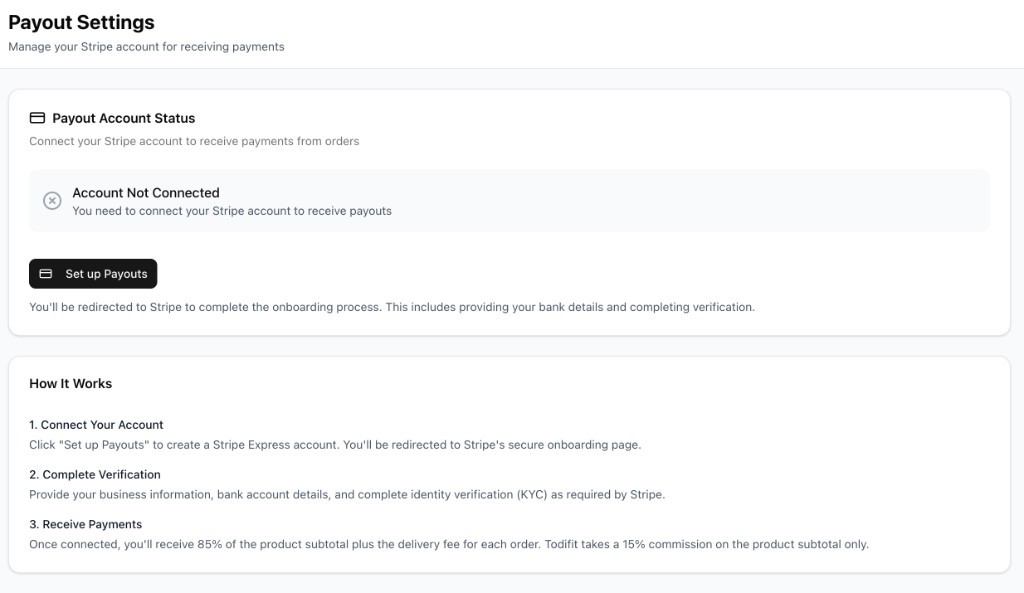
How you get paid
For each order you receive 85% of the item subtotal plus the full delivery fee for your store. Todifit keeps a 15% commission on the item subtotal only and absorbs Stripe processing fees. Funds are held until the shipment is delivered plus the 7-day return window, with no active return, then released to your connected Stripe account.
Step 8 — Add your products
You can add products by hand, upload them in bulk with a CSV, or connect Shopify or Square so your catalog and stock sync automatically. Each product needs at least one variant with a size, colour, price, stock, and image.
Add products manually or by CSV:
- Open "Products" from the sidebar.
- To add one product, create it and fill in name, description, category, price, and at least one variant (size, colour, SKU, stock), then upload images.
- To add many at once, download the CSV template, fill it in, and upload it from the Products page.
- Check that prices, stock, sizes, colours, and images look correct after import.
Or connect Shopify / Square (store owners and managers): Todifit imports your catalog and keeps stock aligned.
- Open "Stock & POS" from the sidebar.
- Choose Shopify or Square and follow the provider’s approval (OAuth) screens.
- Return to Todifit and run "Sync now", or wait for the scheduled sync.
- Review the imported products on the Products page.

Keep stock accurate
If you connect Shopify or Square, that system stays the source of truth for catalog and stock. If you manage products manually, keep stock up to date as you sell so shoppers only see what is available.
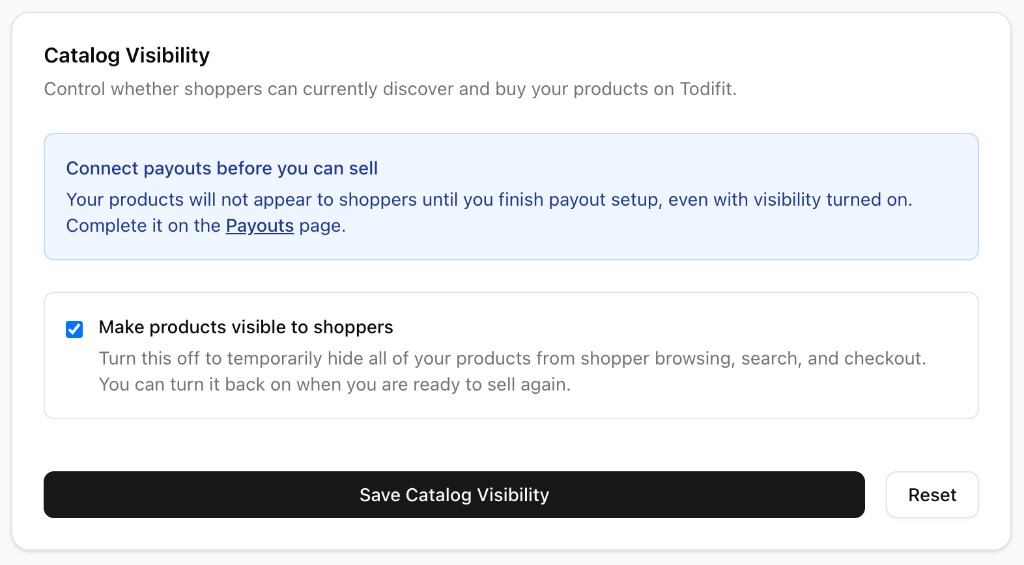
Step 9 — Turn on catalog visibility and go live
The final step is making your products visible to shoppers. This lives on the Store page under "Catalog Visibility".
- Open "Store" and scroll to the "Catalog Visibility" card.
- Tick "Make products visible to shoppers".
- Select "Save Catalog Visibility".
Your store goes live when all of these are true
Payouts (Stripe) are connected, your catalog visibility is on, your store is in Australia, and Todifit has not paused your catalog. If your products are not appearing, check that payouts are connected first — that is the most common reason a store is not yet live.
Step 10 — Start selling: your daily flow
Once you are live, your day-to-day work happens from the dashboard. Use this simple loop to keep orders moving and shoppers happy.
- Check the Dashboard for new orders (you also get an order notification badge).
- Open "Orders" and prepare paid items for picking and packing.
- Keep product stock accurate — manually, or through your Shopify/Square sync.
- Update fulfilment status as each order moves through picking, packing, handoff, and delivery.
- Review "Returns" promptly during the 7-day return window.
- Watch "Payouts" and "Earnings" to track settled funds.
Need help?
For more detail on any part of this process, see the related guides: Getting started, Commission, Payouts and settlement, and Integrations. If you get stuck during setup, contact Todifit support and include your store name and the step you are on.